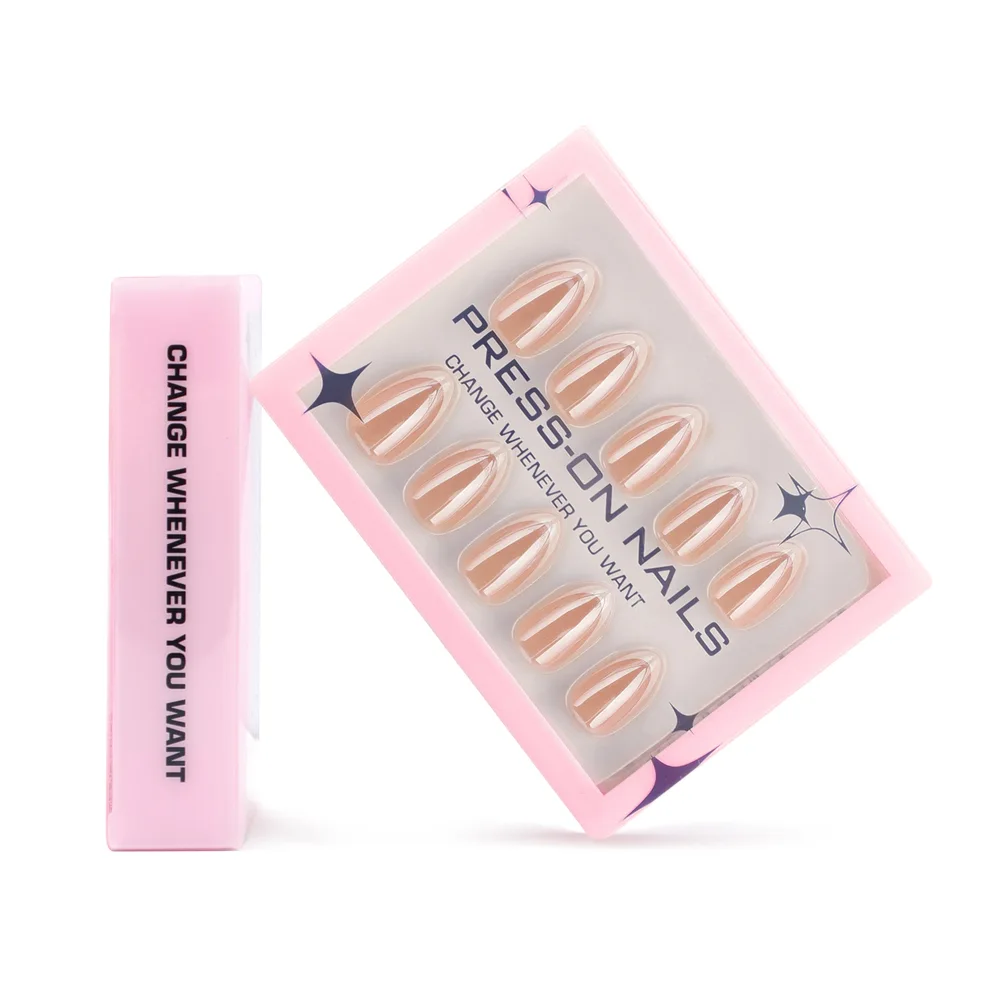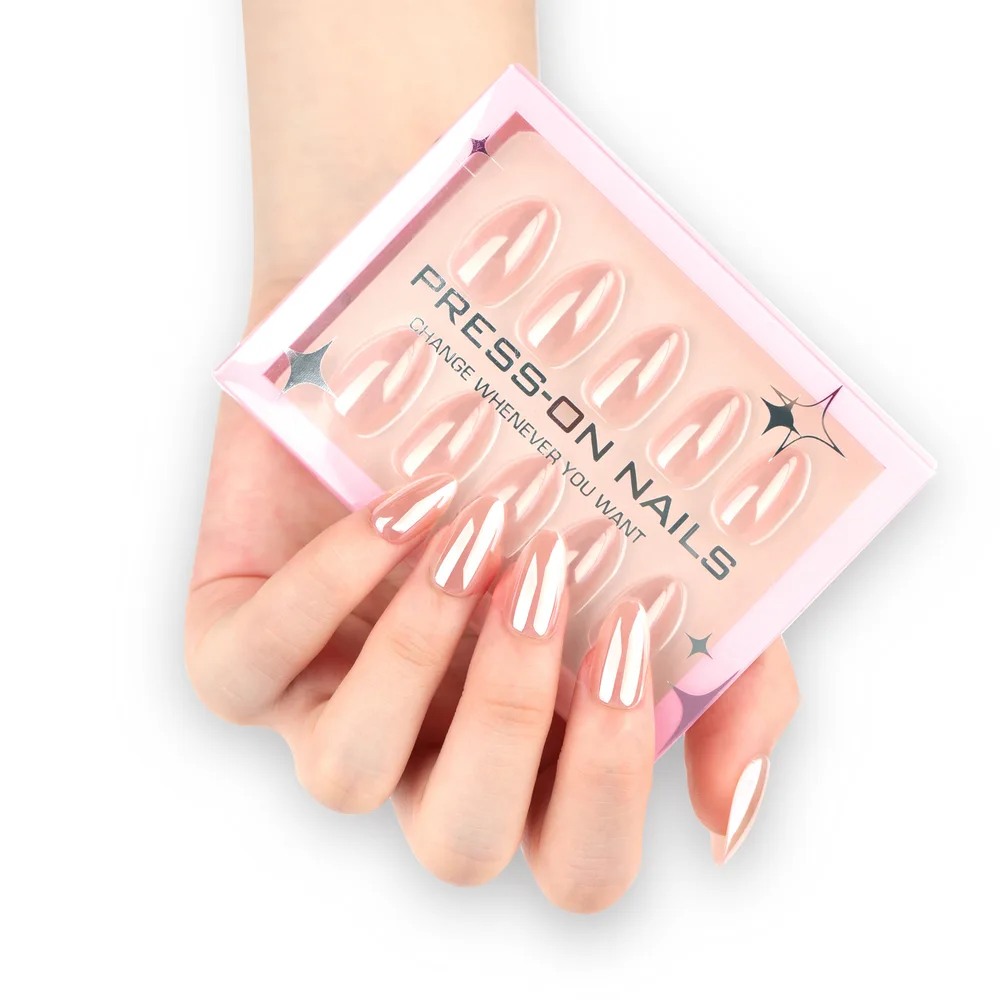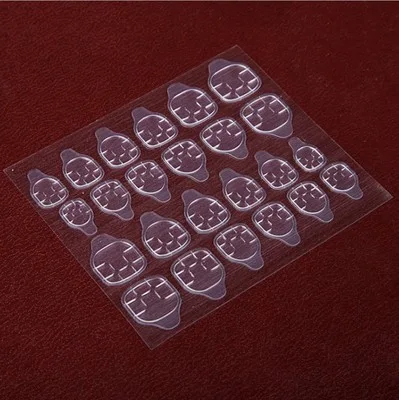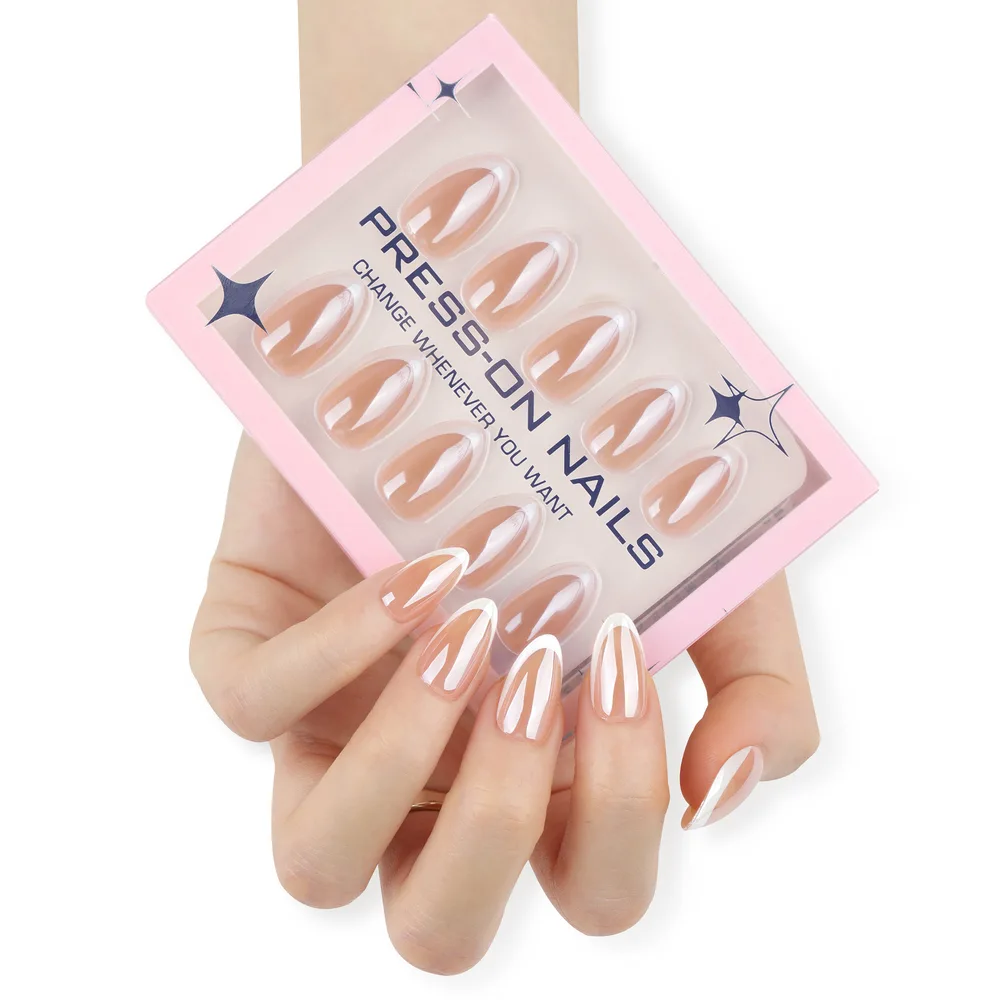
Quick answer
Press-on nails pop off early for four main reasons: residual oil or water swollen inside the nail plate from wet prep, choosing a tip that is slightly too narrow or mismatched to your nail's C-curve, placing the back edge onto invisible cuticle skin instead of 0.5 mm away, or trapping an air pocket in the center channel. Switching to strictly dry prep with a 75% ethyl alcohol wipe, dry-fitting each tip without downward tension, and holding a 45-degree roll-down press for 30 seconds resolves almost all early lifting.
How to Diagnose a Pop-Off by Inspecting the Detached Tip
Few things are more frustrating than spending twenty minutes applying a fresh set of almond press-on nails, only to have the index or thumb tip ping off cleanly while you are zipping a jacket two hours later. Before you assume your nail beds simply 'reject' press-on nails, turn the detached tip over and look at its underside under a bright light. Where the adhesive stayed—and how many hours elapsed before the bond failed—tells you the exact mechanical or chemical reason the tip released.
If the glue or jelly tab is still stuck smoothly to the inside of the press-on tip while your natural nail plate looks completely bare and shiny, the adhesive bonded to the tip but never anchored to your natural keratin. That points directly to surface lipids, moisture inside the nail plate, or an unbuffed glacé sheen. Conversely, if a ring of glue is stuck around the outer edges of your nail while the center is bare, a hollow C-curve air pocket prevented the middle of the tip from ever touching your nail bed.
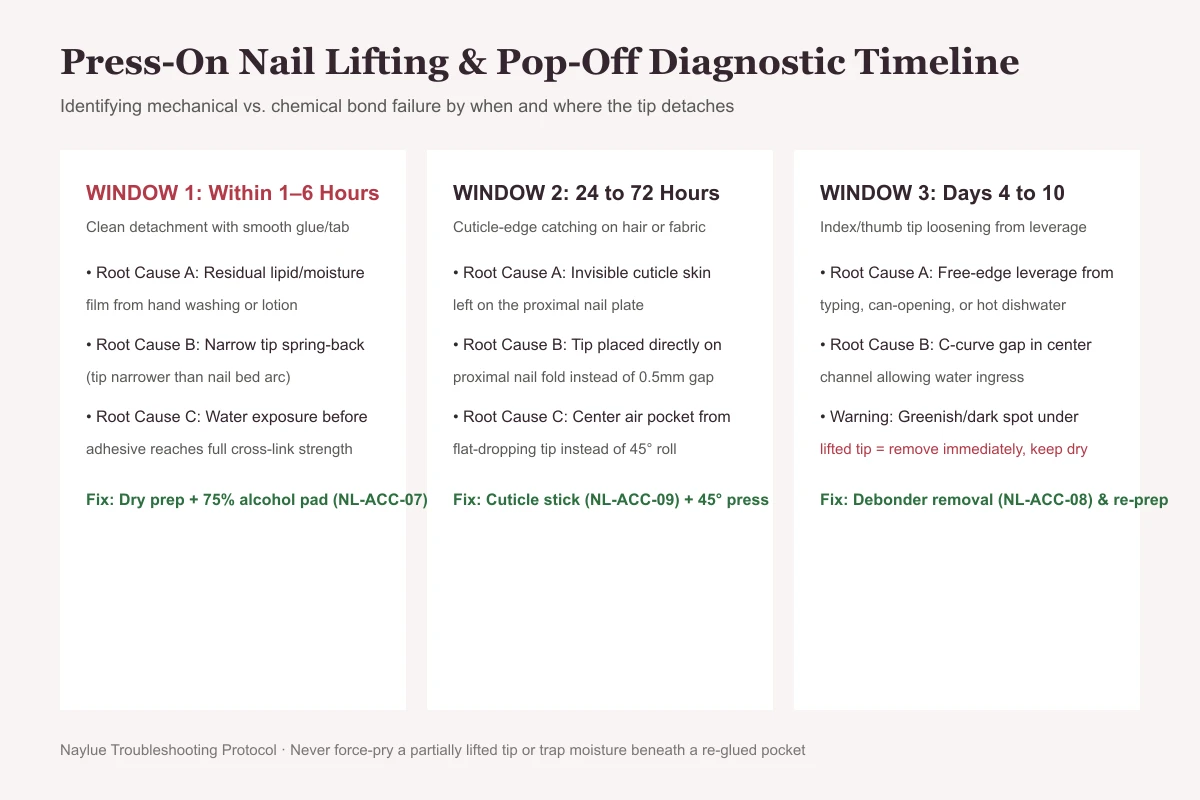
Read the Failure Window: 6 Hours vs. 48 Hours vs. Day 5
Failures inside the first 1 to 6 hours are almost always caused by water-logged nail plates, hand-lotion oils, or a tip that is 1 mm too narrow and springing off under elastic tension.
Lifting that starts between 24 and 72 hours—especially when strands of hair catch at the base of the nail while shampooing—is the classic signature of invisible cuticle skin left on the proximal nail plate or placing the tip flush against the living skin fold. Detachment after 4 to 10 days on the thumb or index finger usually reflects free-edge leverage or water entering an unsealed center arch.
- 0–6 Hours: Wet prep moisture, skin oils, or undersized tip spring-back.
- 24–72 Hours: Invisible cuticle tissue on nail plate or overlapping the proximal fold.
- Day 4–10: Length leverage on dominant digits or hollow C-curve pocket.
Cause 1: The 'Clean Hands' Trap—Why Washing or Soaking Before Prep Ruins Adhesion
One of the most widespread pieces of bad manicure advice is to soak your hands in warm soapy water right before applying press-on nails. Unlike hard plastic, your natural fingernail plate is a porous, hydrophilic sheet of keratin that absorbs water like a dense sponge. When you soak your hands, shower, or wash dishes, the nail plate absorbs water and expands slightly, flattening its natural C-curve arch by a fraction of a millimeter.
If you glue or tab a rigid press-on tip onto a water-swollen nail plate, two things happen over the next 60 to 90 minutes: residual moisture evaporates upward into the adhesive interface, and your natural nail plate shrinks back to its normal dry curvature underneath the rigid tip. That microscopic contraction shears the adhesive bond apart from the inside out.
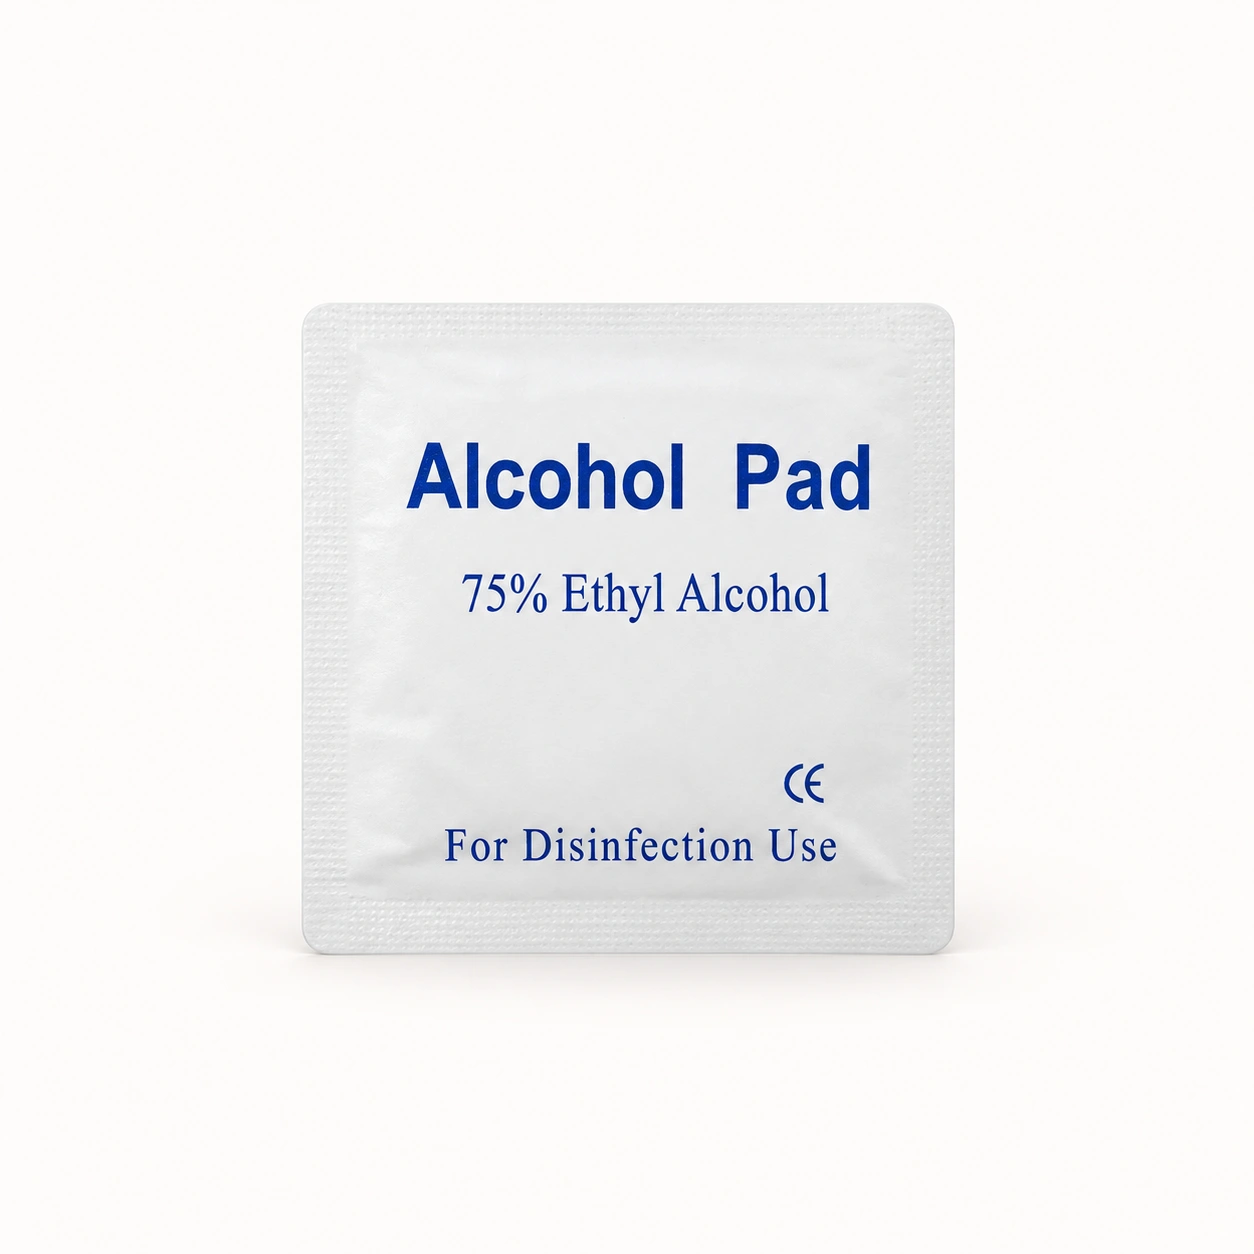
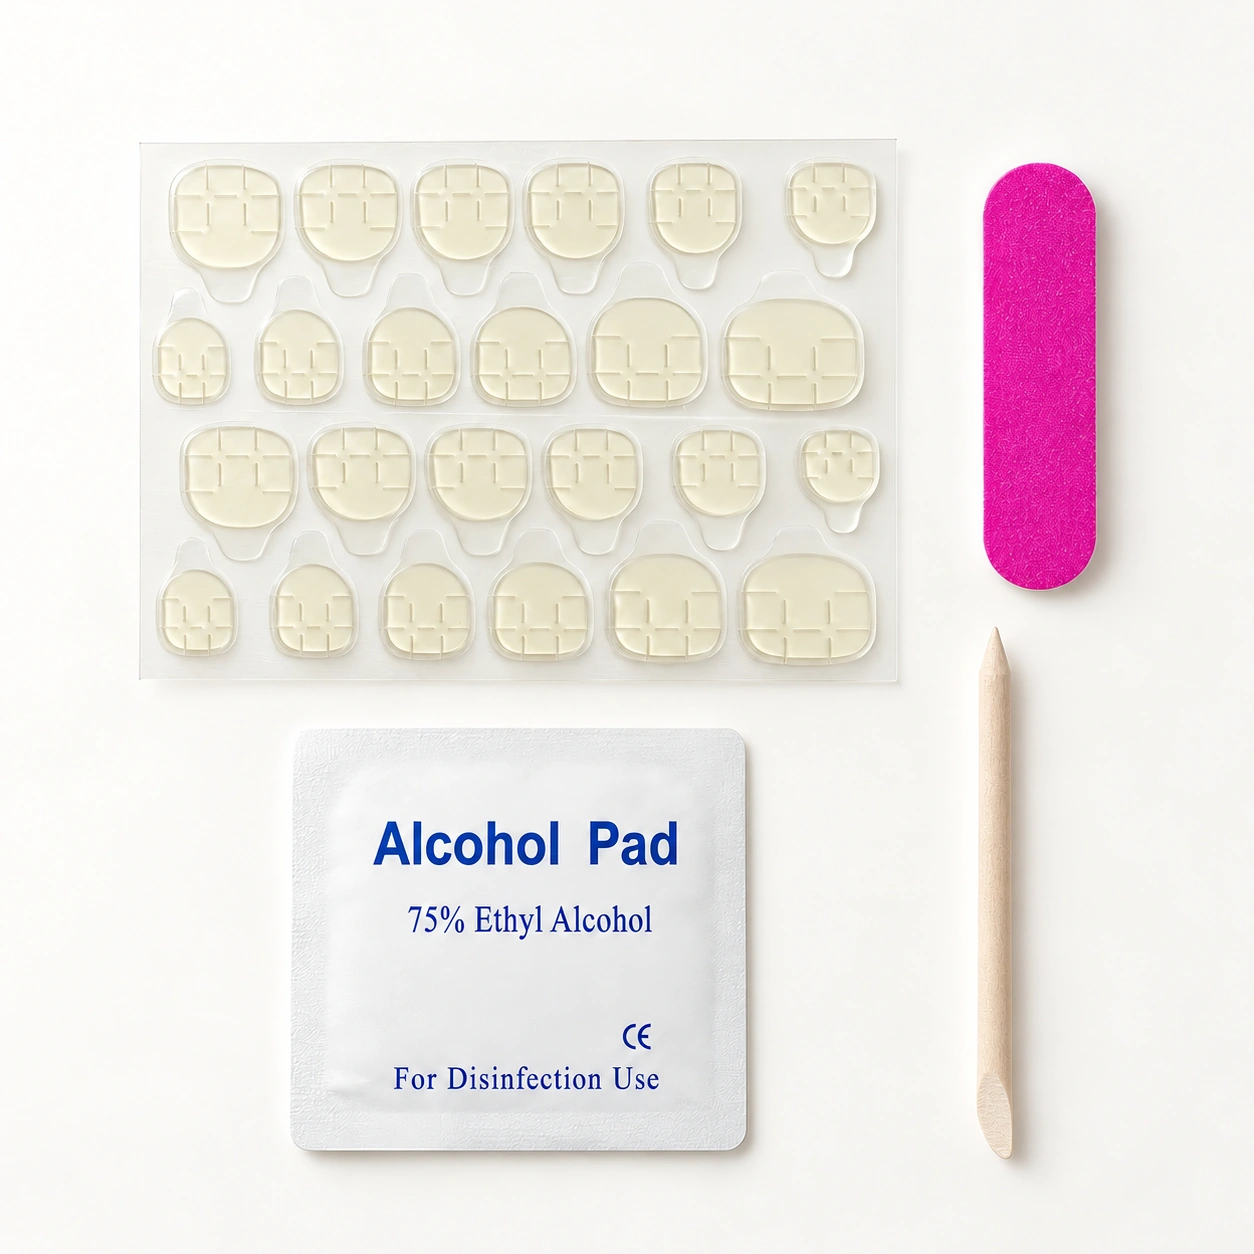
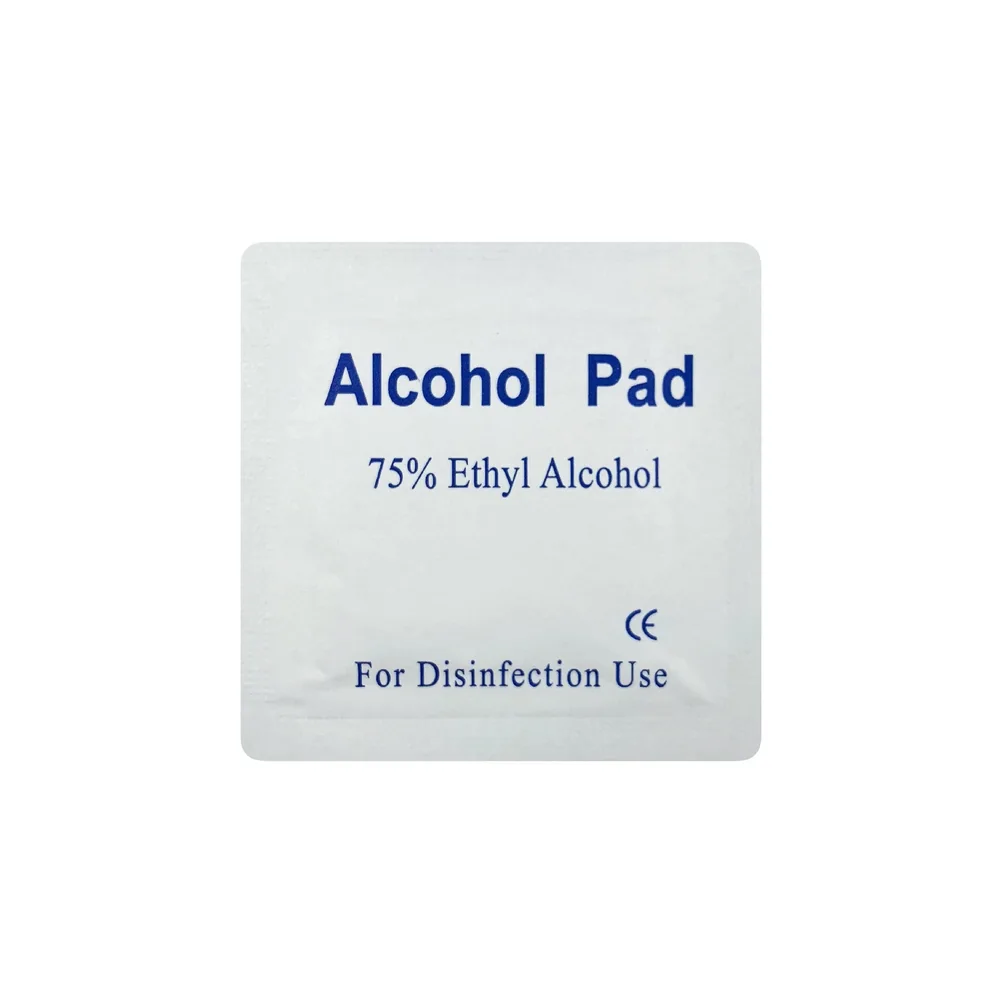
Always practice 100% dry prep. Wait at least 45 to 60 minutes after showering, bathing, or washing dishes before starting your manicure. Instead of soap and water immediately before application, scrub each bare nail plate and its lateral grooves thoroughly with a fresh 75% Alcohol Nail Prep Pad (NL-ACC-07) and let the alcohol flash-dry for 15 seconds. Do not touch your hair, face, or phone screen after wiping.
Cause 2: Skipping Micro-Texture Buffing or Leaving Invisible Cuticle Skin
Even a bone-dry, alcohol-wiped nail plate has two physical barriers that prevent glue and tabs from gripping: the natural lipid sheen of the dorsal nail layer, and the thin, translucent film of true cuticle (stratum corneum) that rides forward on the nail plate from the base fold. If you apply adhesive over that thin skin film, your press-on tip is glued to shedding skin cells rather than to the nail plate itself—causing the back edge to lift within 24 to 48 hours.
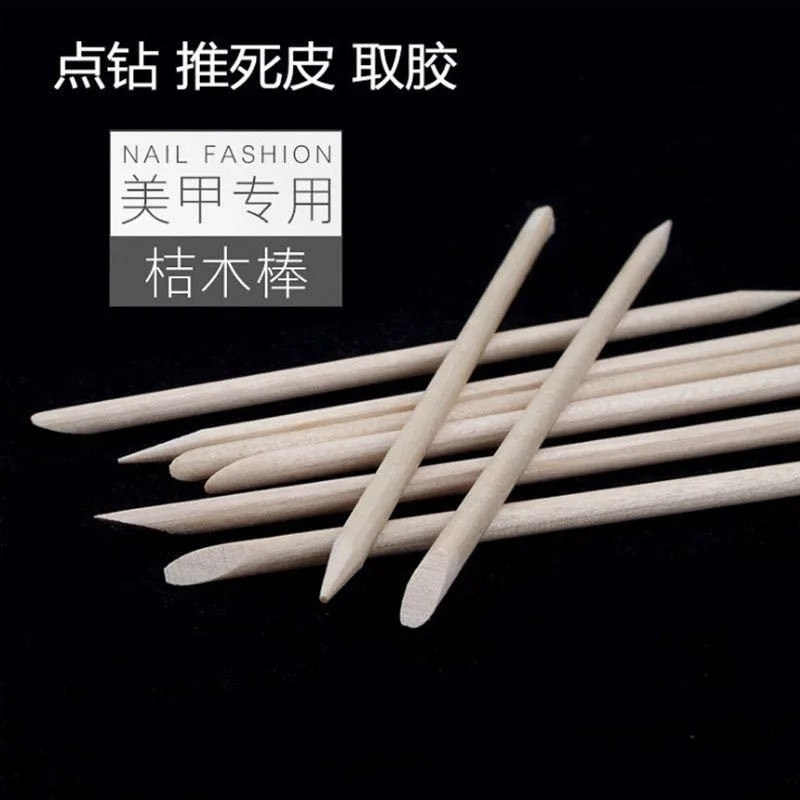
- Use the flat beveled end of a Double-Ended Orangewood Cuticle Pusher Stick (NL-ACC-09) to gently nudge the proximal nail fold back and scrape away any white, flaky, invisible cuticle tissue clinging to the bottom 2 millimeters of the nail plate.
- Take a Double-Sided Mini Nail Prep File & Buffer Strip (NL-ACC-04) and lightly stroke across the surface of the natural nail—just three or four feather-light passes to remove the glassy shine and leave a matte, chalky appearance. Never saw back and forth or thin the nail plate.
- Wipe away every trace of keratin dust with a fresh alcohol prep pad (NL-ACC-07); dust left behind acts like ball bearings underneath a jelly tab or glue layer.
Cause 3: Undersized Tips, C-Curve Air Pockets, and Flat-Drop Placement
As detailed in our millimeter nail sizing guide, a tip that is even 0.5 to 1.0 mm too narrow acts like a compressed spring trying to unbend itself. Equally important is how you lower the tip onto the nail. When you drop a press-on tip straight down horizontally onto a bead of glue, air is trapped in the highest part of the nail's arch, forming a bubble right in the center of the nail bed.
Instead, position the back edge of the tip at a 45-degree downward angle approximately 0.5 mm in front of the cuticle line, then hinge the tip slowly forward toward the free edge. This rolling motion pushes the adhesive bead forward in a continuous wave and forces air out the front of the nail. Once seated, maintain steady thumb pressure across the center apex first, then rock your thumb from left sidewall to right sidewall for 25 to 30 full seconds.
| Observed Failure Symptom | What You See Under the Tip | Primary Root Cause | Immediate Fix for Your Next Application |
|---|---|---|---|
| Whole tip pops off cleanly in < 6 hours | Smooth glue/tab stuck to tip; natural nail looks shiny and bare | Wet-prep moisture in nail plate, skin oils, or unbuffed surface shine | Wait 60 min after water contact; lightly matte-buff (NL-ACC-04) and wipe with 75% alcohol pad (NL-ACC-07) |
| Sidewall lifts first and tip pops off when bumped | Glue only adhered down center strip; sidewalls dry | Tip is 1 size too narrow for curved nail arc, or natural nail has a steep C-curve | Size up 1 slot from your 30-tip box and file the lower sidewalls to match your lateral grooves |
| Hair catches at the base of the nail on Day 2 | White flaky residue along the back rim of the lifted tip | Tip was placed on top of the cuticle skin fold or over invisible cuticle film | Push back cuticle with orangewood stick (NL-ACC-09) and leave a 0.5 mm gap from the living skin fold |
| Hollow clicking sound or cloudy bubble in center | Void in the middle of the nail bed surrounded by a thin glue ring | Flat nail bed paired with a curved tip, or dropping the tip straight down | Apply tip at a 45° roll-down angle, or use a jelly tab / tab-plus-glue cushion to fill the center channel |
| Gel adhesive remains soft/gummy underneath tip | Uncured sticky putty on natural nail after lamp curing | Solid UV gel putty was used under an opaque, dark, or chrome tip | Never use UV gel adhesive under opaque/dark/chrome sets; switch to air-dry liquid glue (NL-ACC-06) or jelly tabs |
Source & basis: Naylue Application & Troubleshooting Protocol (NL-ACC-01 through NL-ACC-14) and American Academy of Dermatology artificial nail care recommendations.
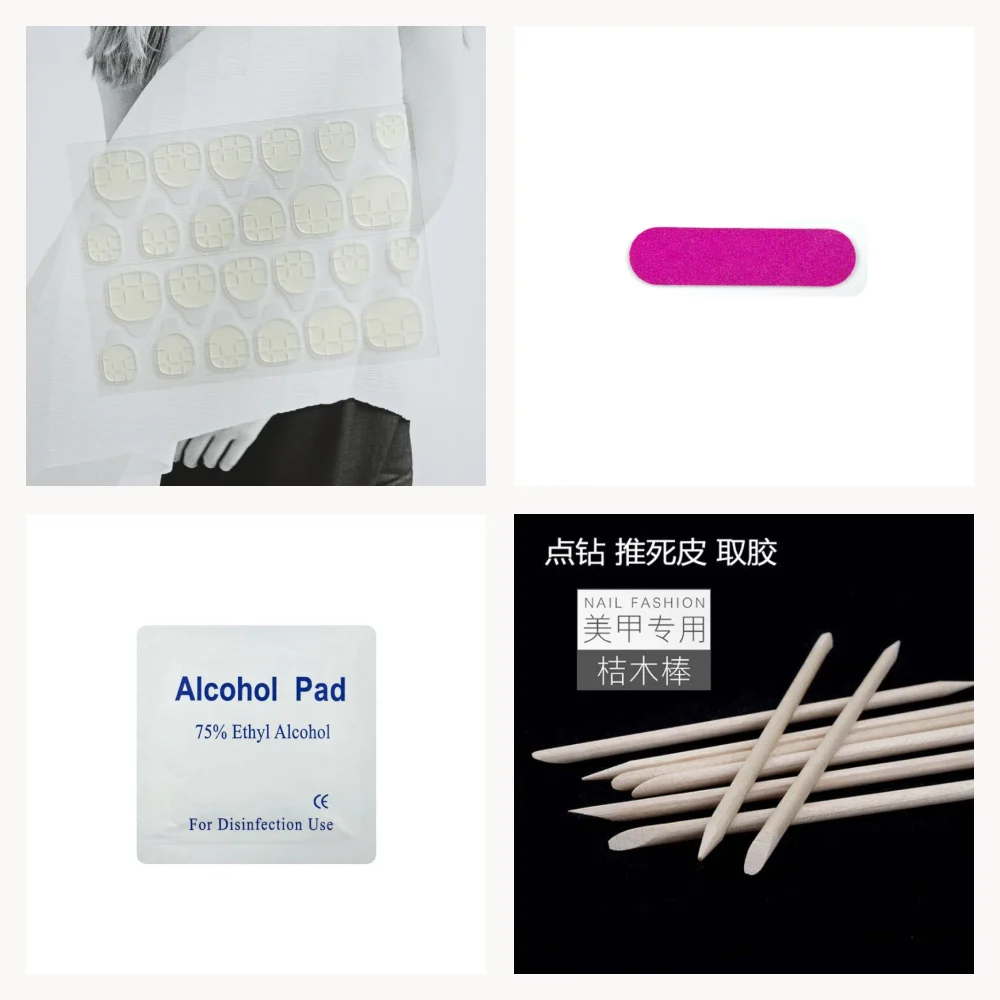
Completing the three dry-prep fundamentals—cuticle clearance, light surface de-glossing, and 75% alcohol dehydration—before opening your adhesive prevents early pop-offs.
The First-Two-Hours Rule and Why You Must Never Re-Glue a Lifted Pocket
Both pressure-sensitive jelly tabs and cyanoacrylate liquid glues continue strengthening their interfacial bond over the first 60 to 120 minutes after you finish pressing the tips on. That is why applying your press-on manicure right before bed is one of the easiest ways to double your wear time: your hands stay completely dry and free from typing or lifting forces for seven to eight consecutive hours while you sleep.
Frequently asked questions
Can I wash my hands right after applying press-on nails?
Wait at least 1 to 2 hours before wetting your hands, and avoid hot baths, dishwashing without gloves, or swimming for the first 4 to 6 hours so the adhesive layer can reach full bond strength.
Why do my thumb and index finger press-ons pop off before my ring and pinky fingers?
Your thumb and index fingers absorb the highest mechanical leverage when typing, texting, buttoning clothes, and opening containers, and their nail beds are often more curved. Try sizing up one slot on those fingers or choosing a short almond profile like GD-12 for heavy-use weeks.
Does applying more nail glue make press-ons stay on longer?
Only up to a point. Too little glue leaves dry spots that lift, while too much glue floods into the cuticles and creates a thick, brittle layer that cracks under impact. Aim for a thin, even brush coat on the natural nail plus a small center drop on the tip.
How do I reattach a single press-on nail that popped off cleanly?
First lightly buff or roll any dried adhesive off the back of the detached tip, wipe both your bare natural nail and the inside of the tip with a 75% alcohol prep pad (NL-ACC-07), let both dry completely for 30 seconds, and reapply with fresh glue or a new jelly tab.
Explore the collection: almond press-on nails.