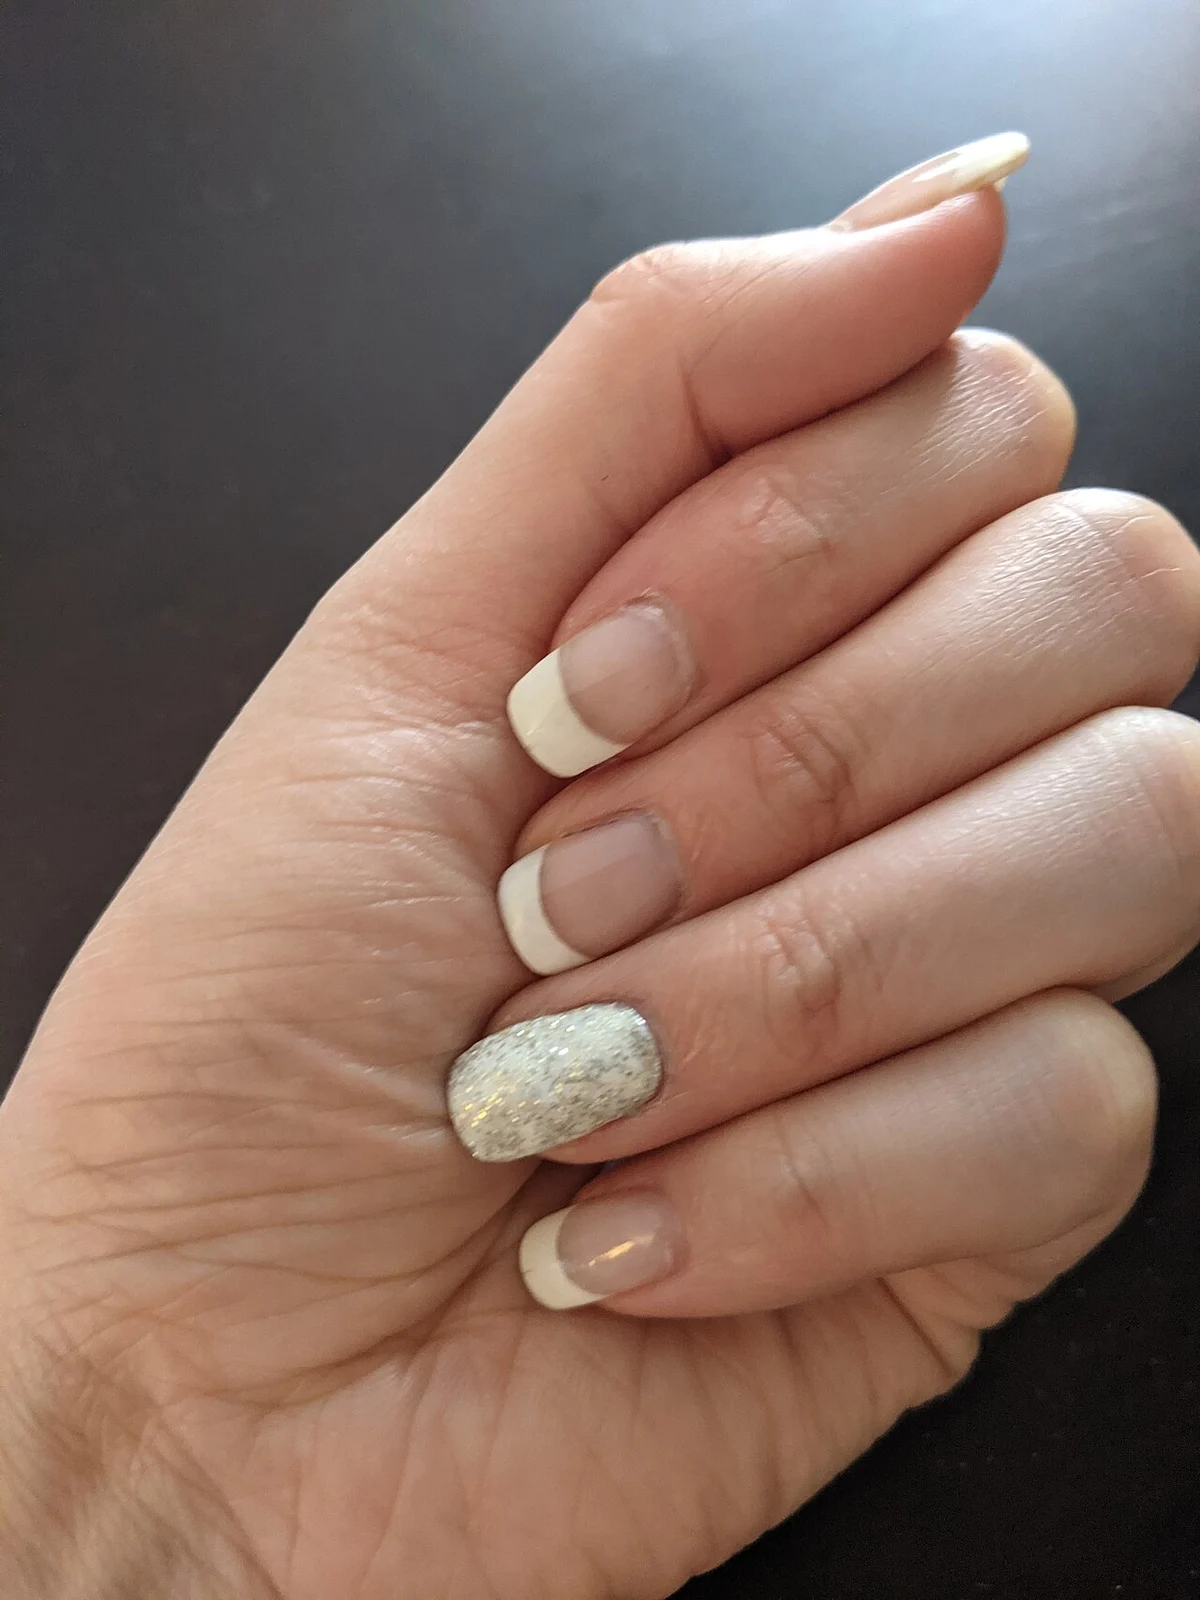
Quick answer
To measure your nails for press-ons accurately, wrap a flexible millimeter tape or a piece of clear adhesive tape across the widest curved portion of each bare nail bed from sidewall to sidewall, mark both lateral edges with a fine-tip pen, and measure the marked distance on a millimeter ruler. Always record all ten fingers individually because dominant-hand nail plates are frequently 0.5 to 1.0 mm wider. When a nail falls between two tip sizes, choose the slightly wider tip from your 30-piece, 12-size box and gently file its sidewalls to match.
Why Accurate Nail Bed Sizing Determines Press-On Wear Time
When a press-on nail lifts within the first afternoon or feels uncomfortably tight across the center of the finger, the adhesive is rarely the sole culprit. In most at-home manicures, early detachment starts with a geometric mismatch between the width or curvature of the natural nail plate and the molded interior of the artificial tip. Unlike liquid gel or acrylic that is sculpted wet onto the finger, a pre-formed press-on tip has a fixed millimeter width and an engineered C-curve arch. If the tip is even one millimeter narrower than your natural nail bed, the sidewalls of the tip are forced outward when you press it down. That outward flex stores elastic spring tension inside the tip material, pulling upward against your adhesive tab or nail glue until one edge releases.
Choosing a tip that is too wide creates the opposite mechanical problem. When the plastic or soft-gel margin extends past your natural lateral nail grooves and rests on the soft skin of the sidewall, normal finger movement pushes the skin upward against the rigid edge of the tip. Any oil or moisture on the surrounding skin also creeps beneath the overhanging border, breaking the seal along the perimeter and allowing hair or sweater fibers to snag beneath the base. As dermatology guidance from the American Academy of Dermatology notes, poorly fitted artificial nails and forceful removal place unnecessary mechanical stress on the natural nail plate. Taking five minutes to measure all ten fingers once—and recording those millimeter numbers—gives you a permanent sizing map you can reuse for every manicure.
Surface Arc vs. Flat Chord: The Number-One Measurement Mistake
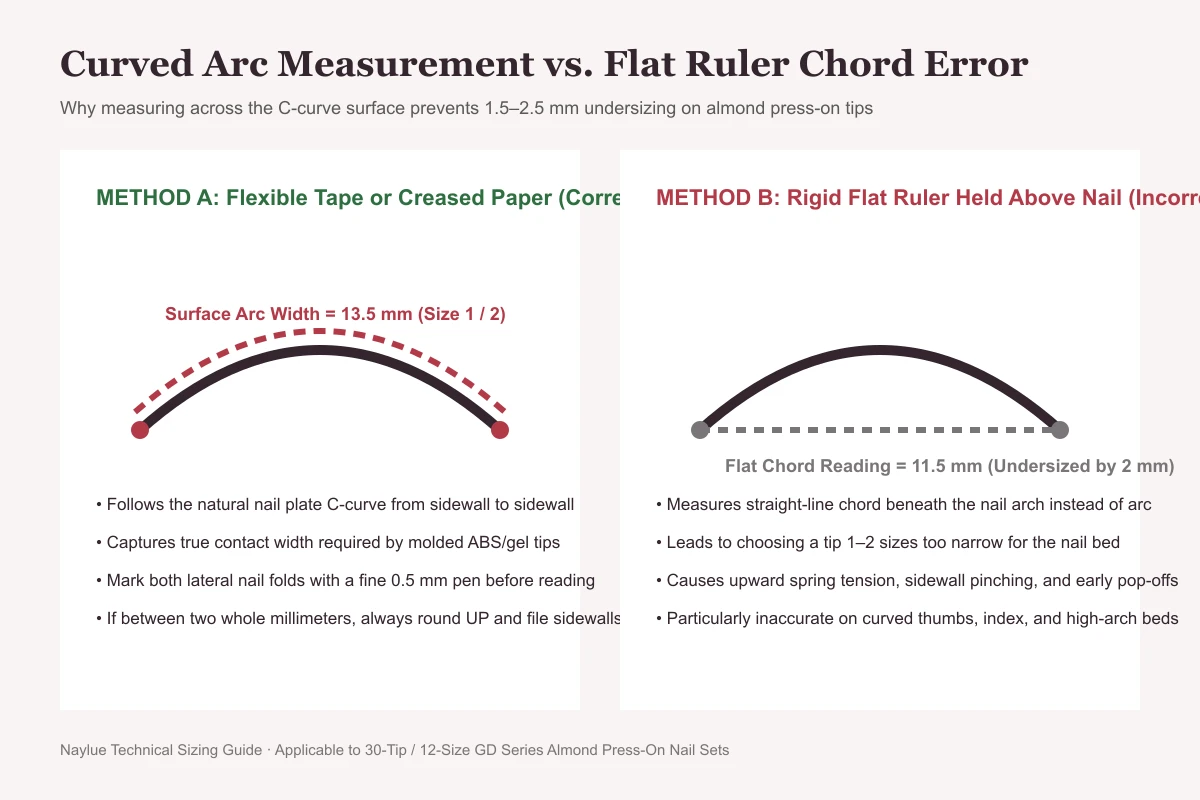
The most frequent sizing error happens when someone holds a rigid plastic or metal ruler straight across the top of a finger and reads the millimeter marks by eye. Because your natural nail plate curves downward into the left and right lateral nail folds, a straight line hovering above the nail measures the geometric chord—the shortest straight distance between two points—rather than the curved surface arc where the press-on tip actually makes contact.
On a moderately curved thumb or middle finger, the difference between the straight-line chord and the surface arc is typically 1.5 to 2.5 millimeters. In press-on nail sizing, two millimeters is the difference between a comfortable Size 1 and a pinching Size 3. Always measure with something flexible that conforms tightly to the contour of your bare nail plate before you read the millimeter scale.
- Use a soft tailor's millimeter tape, clear Scotch-style tape, or a flexible paper strip.
- Measure only bare, completely unpolished nails—existing gel or press-on tips add 0.6 to 1.2 mm of thickness.
- Inspect each nail from the left and right side profile to make sure your mark sits inside the nail groove, not on the skin fold.
Method 1: The Clear Tape and Millimeter Ruler Technique
If you do not own a flexible millimeter dressmaker's tape, the clear adhesive tape method is the most reliable way to measure your nails at home. Because transparent matte or glossy office tape adheres lightly to the nail surface right down into the lateral creases, it eliminates parallax error—the optical illusion that happens when you look at ruler markings from an angle with one eye closed. Gather a roll of clear tape, a fine-point pen or ultra-fine permanent marker (0.5 mm tip or finer), a flat metric ruler marked in millimeters, and a notepad to record all ten digits.
- Wash and dry your hands thoroughly, then gently push back any overlapping skin at the base and sides of the nail using an Orangewood Cuticle Pusher Stick so the true lateral nail grooves are visible.
- Cut a strip of clear adhesive tape approximately 4 cm long and place it horizontally across the widest part of your bare nail plate—usually near the center of the nail bed or slightly toward the free edge on fan-shaped nails.
- Press the tape firmly across the center apex of the nail first, then use your fingernail or the beveled end of an orangewood stick to tuck the tape snugly into both the left and right sidewall creases.
- Hold a fine-point pen vertically so the tip points straight into the sidewall groove, and draw a crisp vertical tick mark at the exact point where the hard nail plate meets the lateral skin fold on both sides.
- Peel the tape off your finger, stick it flat onto a piece of white paper or directly against the millimeter scale of your metric ruler, and read the distance between the inside edges of your two pen marks to the nearest 0.5 millimeter.
- Repeat the process for all five fingers on your left hand and all five fingers on your right hand, writing down both sets of numbers in a two-row chart.
Why is measuring both hands mandatory? Human hands are rarely symmetrical. The hand you use for writing, typing, gripping tools, or opening jars experiences greater daily mechanical load, which naturally widens the distal phalanx bone and the nail bed over time. It is completely normal for your dominant thumb, index, or middle finger to measure 0.5 mm to 1.0 mm wider than the corresponding finger on your non-dominant hand. Recording all ten measurements prevents the classic mistake of sizing only your left hand and discovering mid-application that the right index tip feels tight.
Method 2: Direct Dry-Fitting with a 30-Tip, 12-Size Almond Set
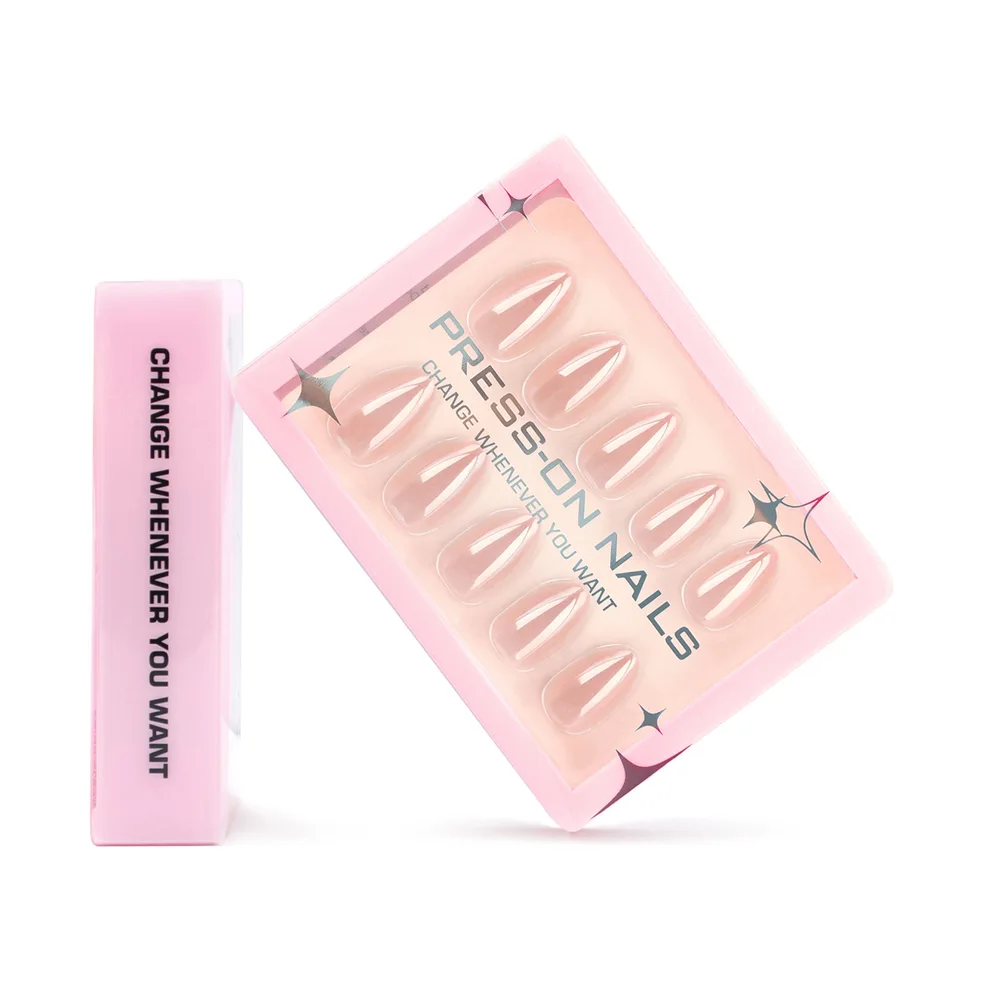
Millimeter measurements give you a baseline size chart, but once you open a press-on nail box, physical dry-fitting on bare nails is the gold standard for confirming your fit before opening any glue or peeling any adhesive tab backing. Every single box in the Naylue GD Series Almond Collection—such as the Champagne Nude Pearl Glaze Almond Press-On Nails (GD-04) or the Classic Nude French Tip Short Almond Press-On Nails (GD-12)—contains 30 pre-numbered tips distributed across 12 distinct sizes. Having 30 tips across 12 sizes provides intermediate half-step widths and duplicate middle sizes so both hands can be fitted without compromise.
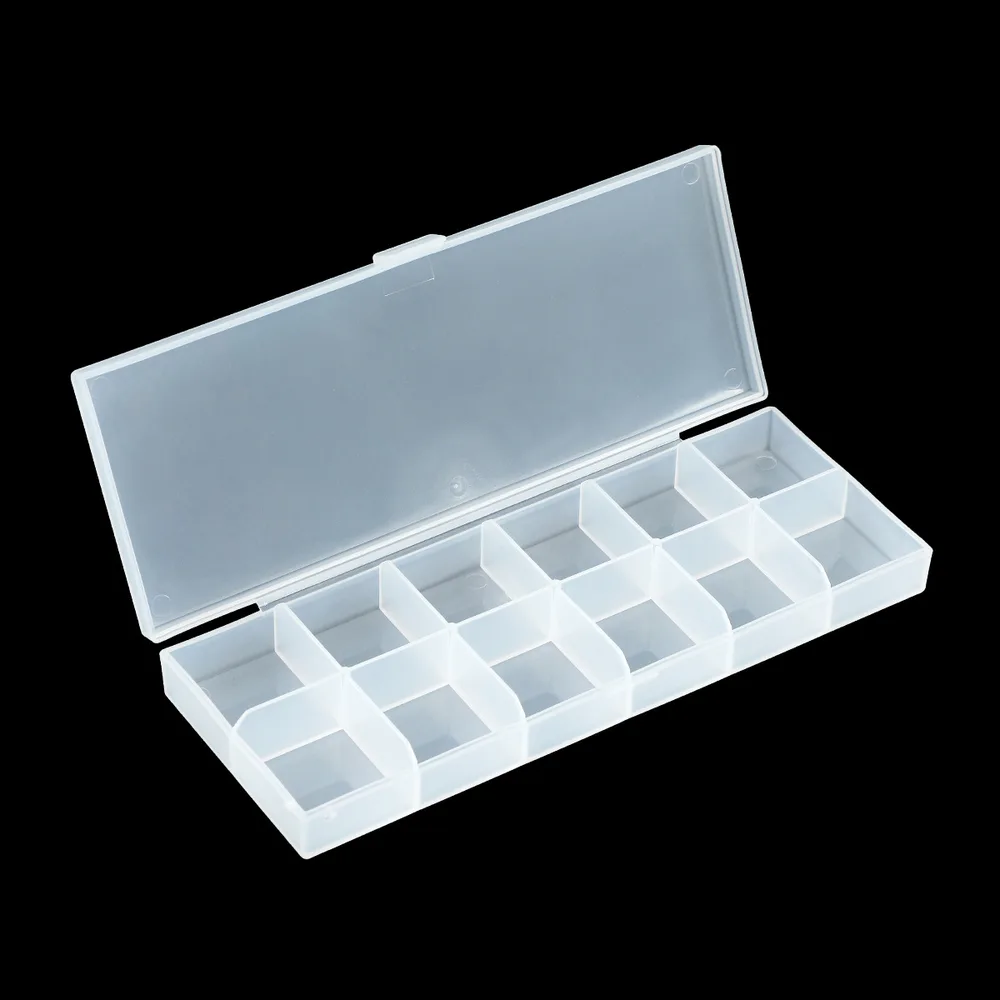
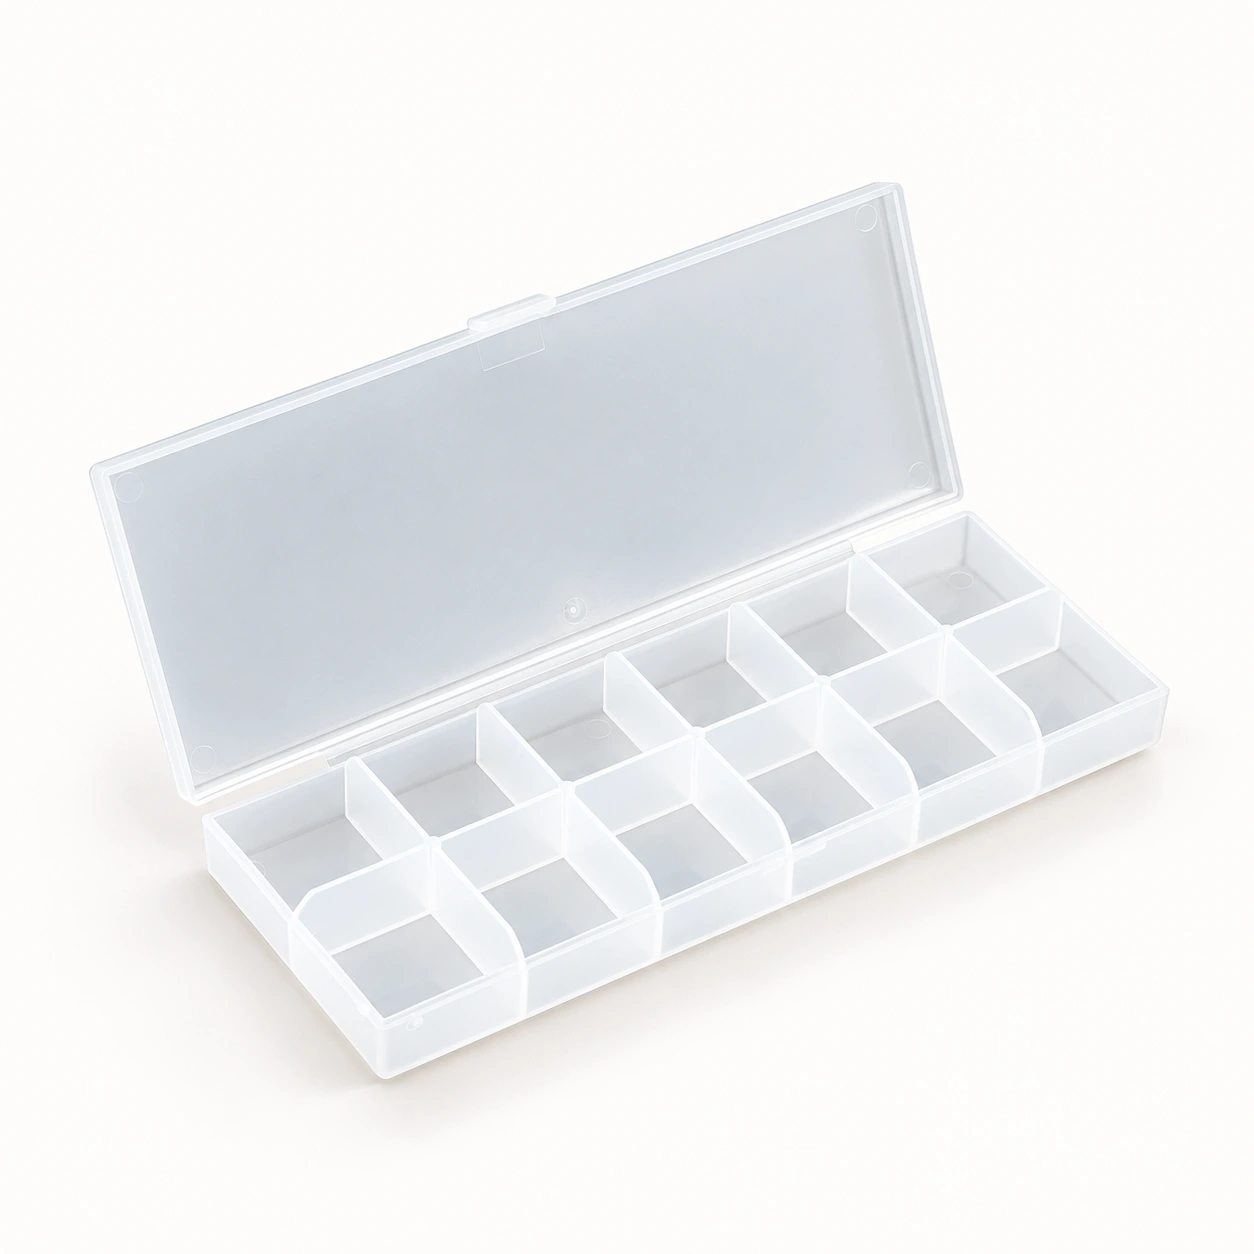
Each press-on tip has a tiny embossed size number printed underneath the free edge (typically numbered from 0 or 1 for the widest thumb tips down to 9, 10, or 11 for the narrowest pinky tips). Before applying any prep pad or adhesive, lay out your selected tips in finger order from thumb to pinky for both hands, or sort the full 30-piece tray into a Frosted Clear 12-Grid Press-On Nail Organizer & Storage Box (NL-ACC-12).
To dry-fit a tip properly, place the rounded cuticle edge of the tip approximately 0.5 mm in front of your natural cuticle line—never on top of the skin—and press the center of the tip down gently with your thumb. While holding moderate downward pressure, rotate your finger to inspect the left sidewall, then the right sidewall, and finally look straight down the barrel of the nail from the free edge.
A properly sized tip covers the natural nail plate from left groove to right groove when held with light finger pressure, without requiring you to squeeze hard to flatten the arch and without touching the soft skin on either side. If the tip springs upward the instant you relax your thumb pressure, either the width is slightly too narrow or your natural nail bed is flatter than the tip's C-curve.
Reference Size Table: Millimeter Widths and Between-Size Adjustments
While individual tip molds can vary by a fraction of a millimeter depending on whether a design features a sheer glaze or a thicker sculpted 3D overlay, the table below shows how natural nail arc measurements in millimeters map to standard 12-size press-on tip numbers and how to handle half-millimeter intervals.
| Tip Size Slot (Widest to Narrowest) | Typical Curved Nail Arc Width (mm) | Common Finger Placement | Action When Your Nail Measures Between Sizes |
|---|---|---|---|
| Size 0 / Size 1 (Widest) | 15.5 mm – 18.0 mm | Wide thumbs or dominant thumb | Select the wider thumb tip and lightly file the lower sidewall base with a fine prep file (NL-ACC-04). |
| Size 2 / Size 3 | 13.5 mm – 15.0 mm | Standard thumbs or wide middle fingers | Test both tips dry on bare nail; choose the tip that reaches both lateral grooves without downward force. |
| Size 4 / Size 5 | 11.5 mm – 13.0 mm | Index, middle, and ring fingers | Because index and ring fingers often differ by 0.5 mm, check each hand separately and use duplicate middle sizes. |
| Size 6 / Size 7 | 10.0 mm – 11.5 mm | Slender index, ring, or wide pinky fingers | Round up to the wider tip and taper the proximal corners if your cuticle base is narrower than your free edge. |
| Size 8 / Size 9 | 8.5 mm – 10.0 mm | Standard pinky fingers or petite ring fingers | Check cuticle curvature; file the back curve slightly flatter if your pinky nail fold is straight. |
| Size 10 / Size 11 (Narrowest) | 7.0 mm – 8.5 mm | Petite pinky fingers | Ensure the tip does not overhang into the lateral fold; lightly buff the bottom edges for a flush seal. |
Source & basis: Naylue GD Series 30-tip / 12-size Almond catalog specifications (NL-GD-01 through NL-GD-50) and standard curved-arc fitting tolerances.
How Nail Bed Shape and C-Curve Arch Affect Your Fit
Width in millimeters is only one dimension of press-on nail fit. Two people can both measure 13.0 mm across their middle finger and still need different sizing strategies because of three structural variables: C-curve arch height, proximal cuticle shape, and distal fan taper. Understanding which nail bed profile you have prevents both air pockets and mid-nail pressure soreness.
1. Flat Nail Beds vs. High-Arch (Curved) Nail Beds
Look straight at the tip of your bare finger as if pointing at your nose. If the top of your nail forms a gentle, nearly horizontal line from left to right, you have a flat nail bed. When you place a standard curved press-on tip onto a flat nail bed, the left and right sidewalls of the tip touch your nail first while a hollow gap remains beneath the center arch. If you try to close that gap by choosing a smaller tip and pressing harder, the tip will pinch your lateral nail folds and pop off within hours. Instead, flat nail beds should size up by half a size so the tip sits comfortably wide, and pair the tip with a cushioned attachment system—such as Breathable Double-Sided Nail Jelly Adhesive Tabs (NL-ACC-02)—that fills the center channel without tension.
Conversely, if your natural nail forms a pronounced dome or steep C-curve when viewed from the front, the center apex of your nail hits the roof of the press-on tip before the sidewalls reach your lateral nail grooves. On high-arch nails, a tip that matches your exact millimeter tape reading may leave a 0.5 mm gap along both sidewalls. Sizing up one slot—or using moldable Solid UV Gel Press-On Nail Adhesive Putty (NL-ACC-05) ONLY when wearing sheer, light-transmitting tips—ensures complete sidewall contact.
| Nail Bed Profile | Visual Check at Finger Tip & Cuticle | Recommended Sizing Adjustment | Compatible Adhesive Strategy |
|---|---|---|---|
| Flat Nail Bed | Low horizontal arch; tip sidewalls touch before center apex | Never size down; pick exact width or 1 slot wider and file sidewalls | Jelly adhesive tabs (NL-ACC-02 / NL-ACC-14) or tab-plus-liquid-glue hybrid to cushion the center arch |
| High-Arch / Deep C-Curve | Pronounced dome; center apex touches before sidewalls reach grooves | Size up 1 slot so sidewalls wrap fully around the natural dome | Liquid glue (NL-ACC-06) for all tips; Solid UV gel putty (NL-ACC-05) ONLY for sheer/translucent tips |
| Fan-Shaped / Tapered Base | Narrow cuticle base that flares wider toward the free edge | Size for the widest distal point, then file the proximal base corners | Custom-file the cuticle curve with a mini file strip (NL-ACC-04) before applying glue or tabs |
| Square Cuticle Line | Flat, straight proximal nail fold rather than a deep oval U-curve | Choose standard width and flatten the rounded back edge of the tip by 0.5–1.0 mm | Keep a 0.5 mm gap from the eponychium so the squared edge never presses on living skin |
Source & basis: Naylue Nail Plate Anatomy & Adhesive Compatibility Guidelines (NL-ACC-02, NL-ACC-04, NL-ACC-05, NL-ACC-06, NL-ACC-14).
2. Custom-Filing Between-Size Tips for a Tailored Perimeter
Even with 12 graduated sizes in a 30-piece box, human fingernails are organic shapes—one finger may have a slightly squarer cuticle corner on the left side and a rounder curve on the right. Whenever a nail sits between two sizes, the cardinal rule of press-on fitting is: always select the larger tip and file it down; never force a smaller tip onto a wider nail bed.
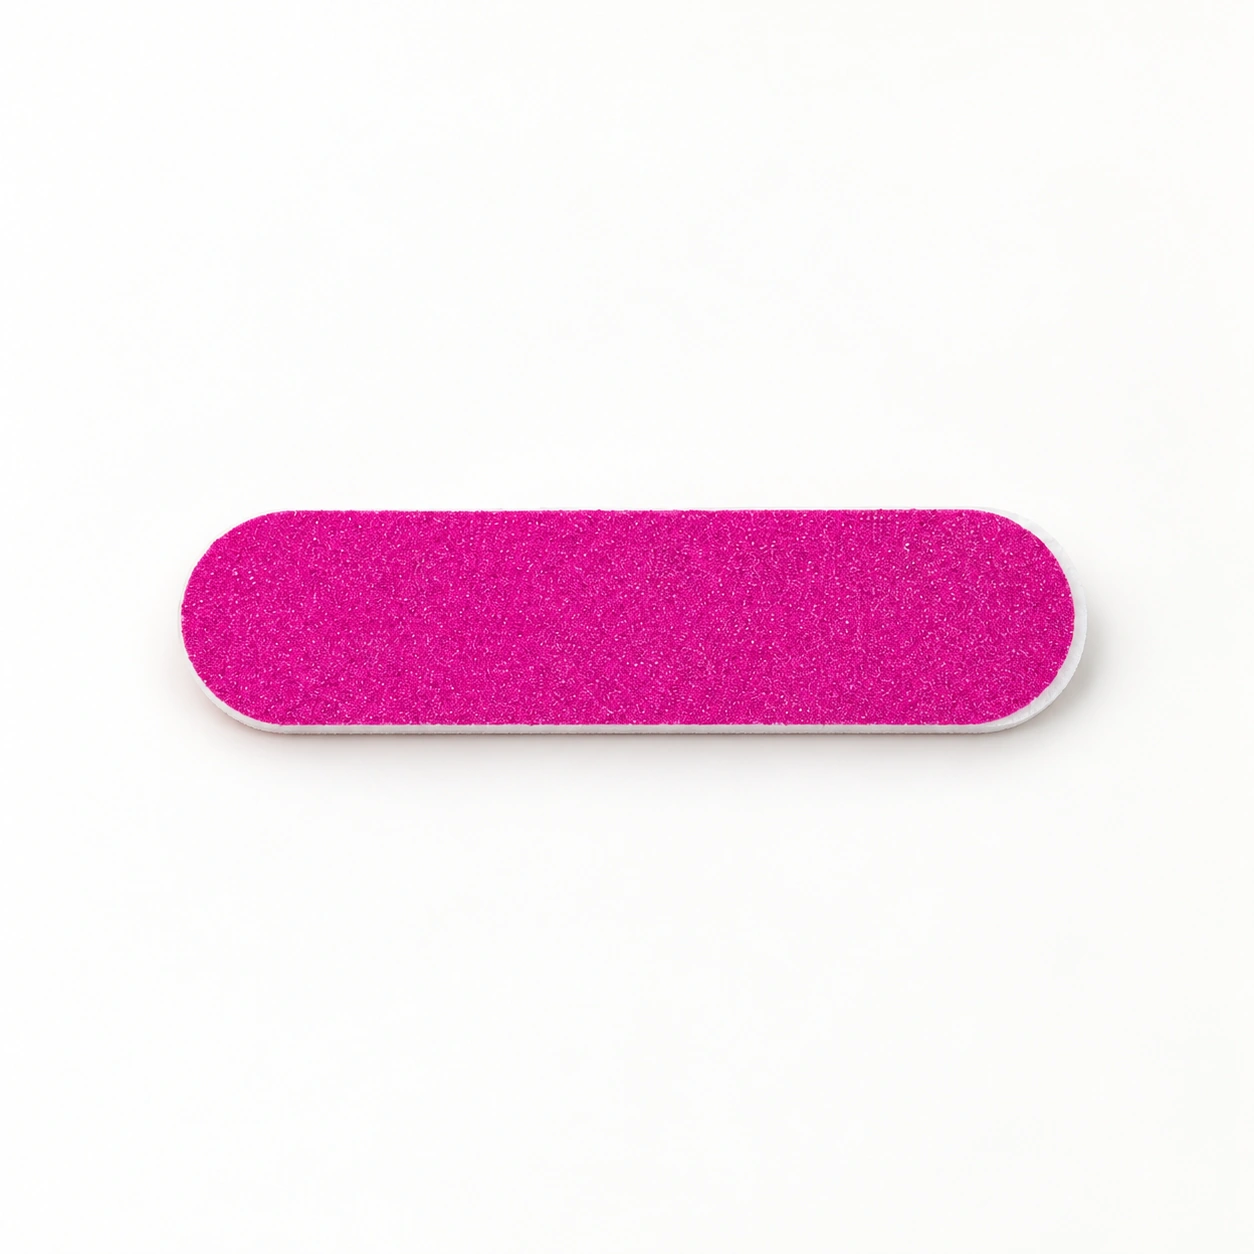
Hold the larger tip by its free edge and use the fine side of a Double-Sided Mini Nail Prep File & Buffer Strip (NL-ACC-04) to stroke gently along the lower third of the tip's sidewall or around the back cuticle curve. File two or three strokes at a time, brush away the dust, and dry-fit the tip against your bare nail again. Because you are only shaping the unprinted base margin where the tip meets your cuticle and sidewalls, you preserve the factory gel topcoat, French smile line, or 3D floral art on the upper surface while achieving a custom, salon-flush perimeter.
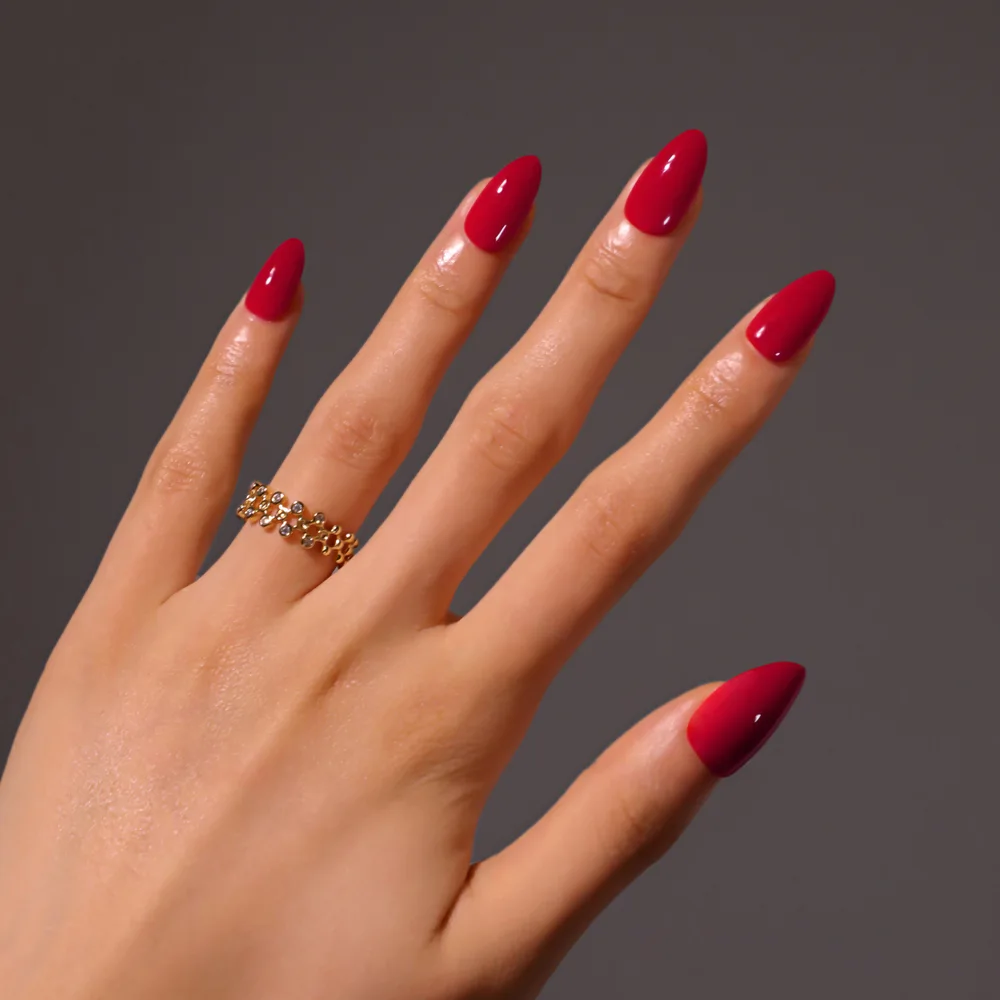
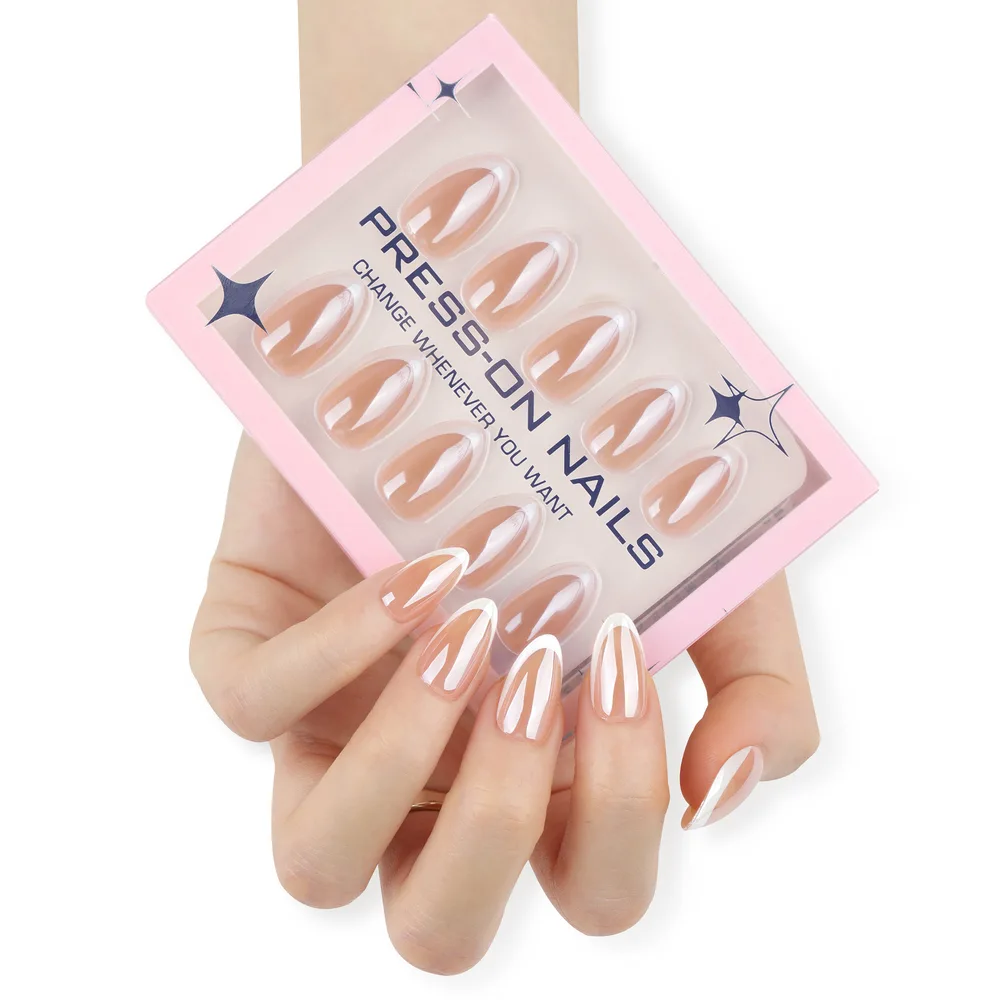
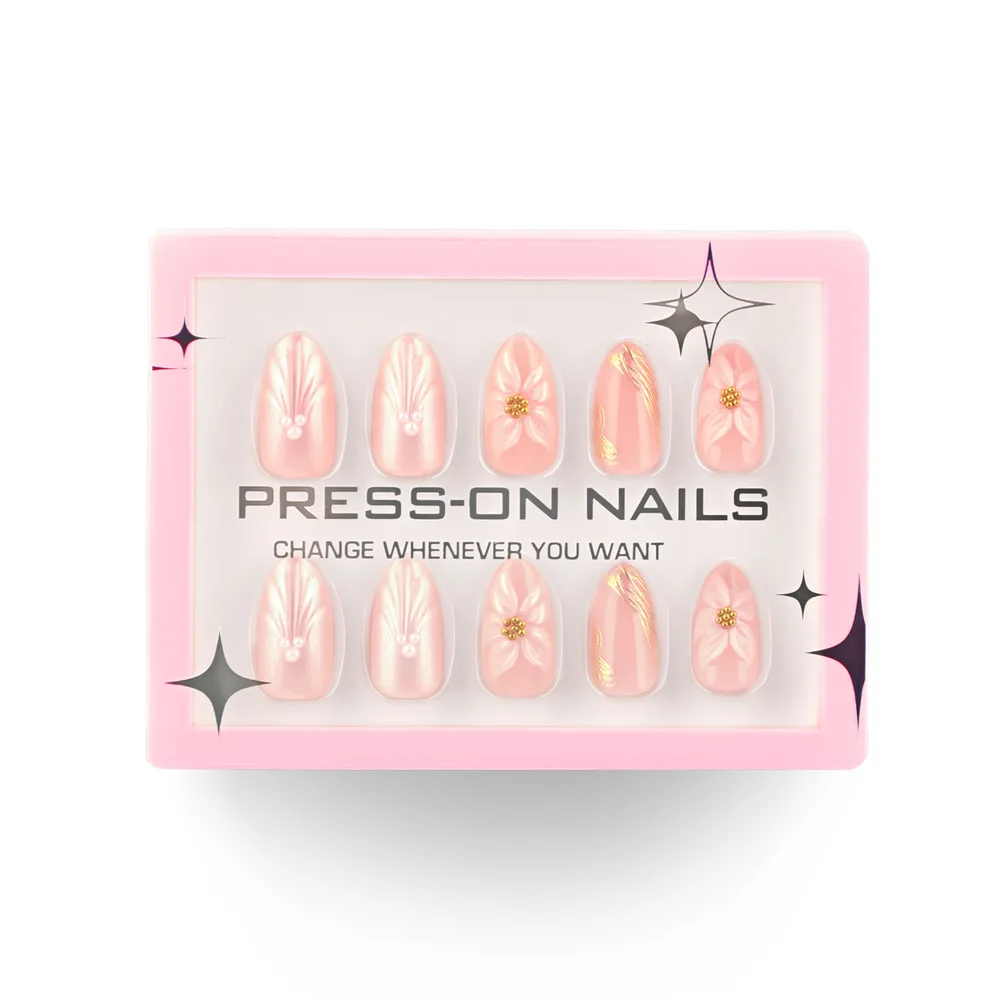
All 50 designs in the Naylue GD Series Almond collection share the 30-tip, 12-size system—allowing you to record your ten-finger size map once and apply it across sheer French, glossy burgundy, and 3D floral sets.
Frequently asked questions
Should I measure my nails in millimeters or inches for press-on nails?
Always measure in millimeters (mm). Press-on nail tip molds are manufactured on a millimeter scale where adjacent sizes often differ by just 0.5 mm to 1.0 mm, which is too small to read accurately on a fractional inch ruler.
What should I do if my nail width is right between two tip sizes?
Always choose the wider of the two tips. A slightly wider tip can be customized in 15 seconds by lightly filing its lower sidewalls with a fine nail file, whereas a tip that is too narrow will pinch your nail bed and pop off.
Can I measure my nails while I am wearing gel polish or another set of press-ons?
No. Gel polish layers and existing press-on tips add between 0.6 mm and 1.5 mm to the curved surface arc of your nail, which will cause you to overestimate your size by one to two tip slots. Always measure bare, clean nails.
Why do my left and right hands use different tip numbers on the same finger?
Most people have slightly wider nail beds on their dominant hand due to everyday mechanical use. Measuring all ten fingers individually and using a 30-tip, 12-size set lets you fit each finger accurately without forcing symmetrical numbers.
Explore the collection: almond press-on nails.